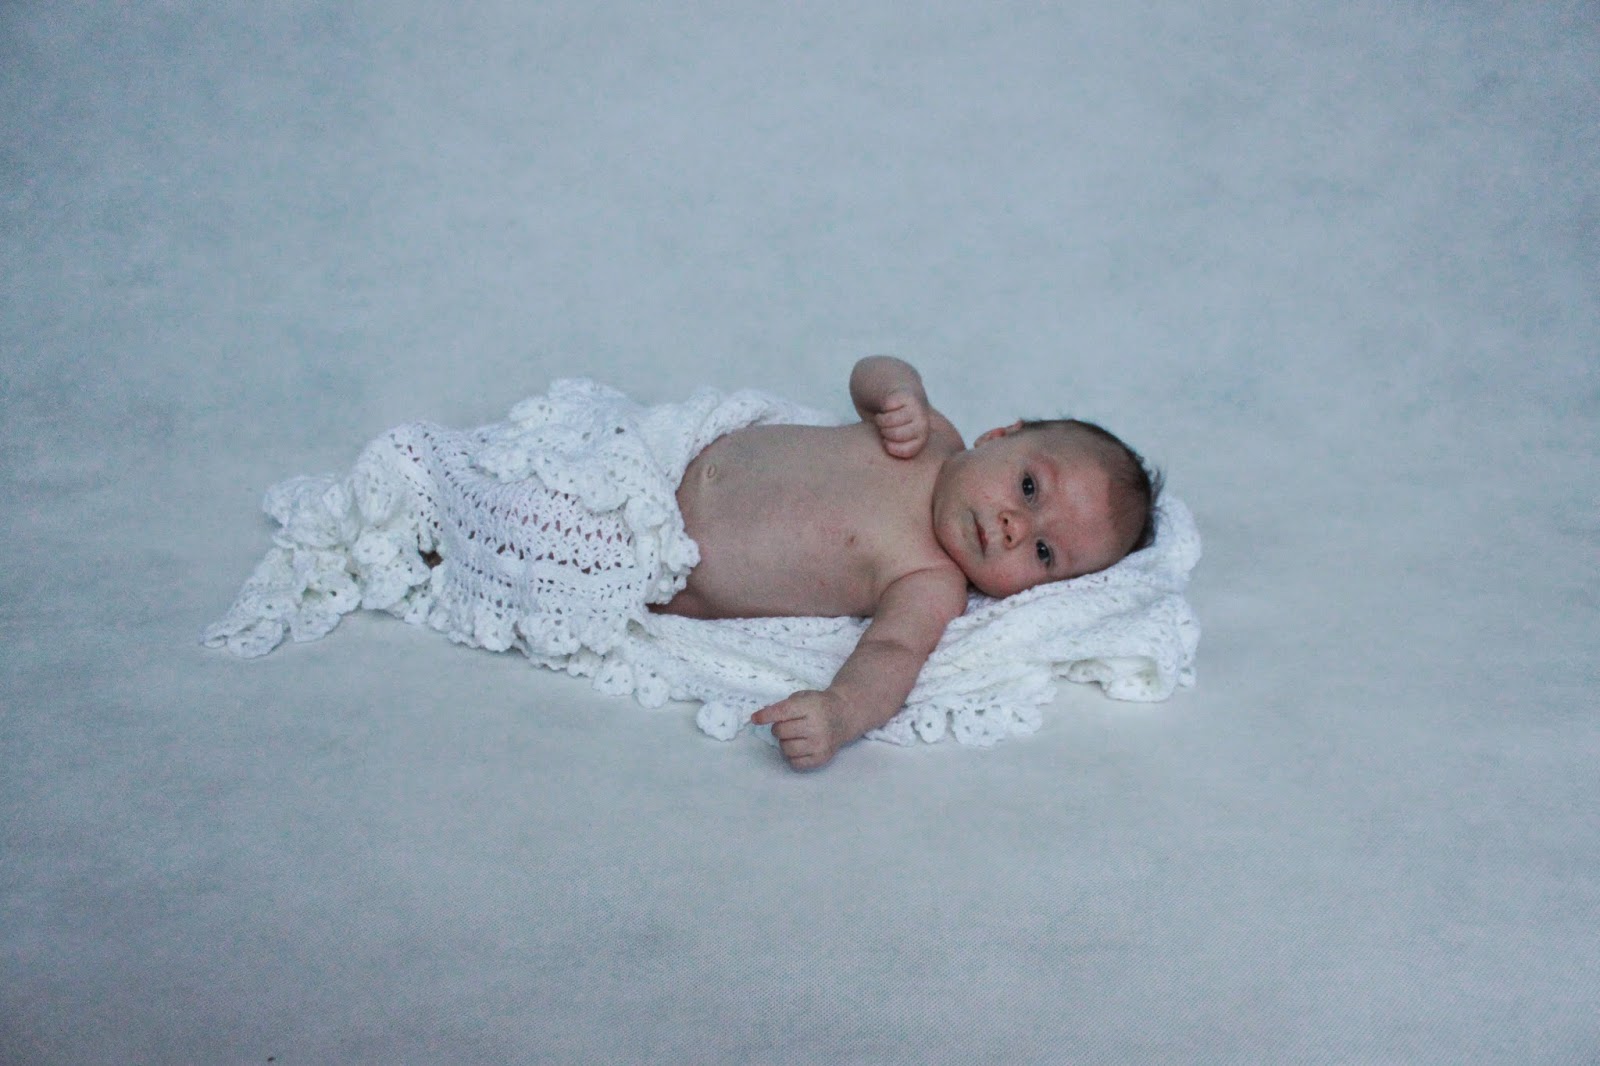
Step one - Decide on the types of pictures you like and props you will use. Vintage items (like wood crates, old planters and hand knit blankets make for a wonderful items for baby photography session.) If you have access to backdrops then use them, but they are not necessary.
Step two - Decide on location. Any room facing a big, bright window will do. Make sure you set up your set to face that window. Natural light is best.
Step three - set up your best camera (here it helps to have access to a digital DSLR camera. If you don't have one see if you can borrow one from a friend or family member) on a tripod or a steady surface (like a chair or a small table)
Step four - Since you want there to be lots of light reflecting onto a picture (unless you're going for strong shadows) getting two or three white poster boards (Michaels has them for 2 dollars each) and propping them up so that they reflect light back onto the set will make your pictures look that much more professional.
Step five - Place your baby on the set and shoot many different pictures. Since I am working in a non-professional studio I try to take at least 10 different pictures of each pose. You can always delete them later. Better to have one too many than one too few. Take note that pictures will always look different once you put them on the computer screen and examine them closely.
Step Six - Download the pictures onto your computer and use editing software to edit them. There are so many softwares available now days, from Photoshop that you get for your computer to online ones like PicMonkey, which is super easy to use and if you get a membership you can do things likie smooth out those baby pimples, and make skin a healthier tone, and blur part of pictures and brighten eyes. Note though that your compute screen has to be calibrated to give you accutate picture edit.
Step Seven - "Play" with different settings and adits untilyou discover one that you really like.
Here is my example::
First we took many shots. We used little tie, and Daddy's briefcase as a prop. The backdrop is a table top on it's side.
 |
| Before crops and edits |
 |
| Here is after cropping the picture, applying different effects. |
Another exaple of before and after:
One more:
Here is one with an old wooden box as a prop.
And one of me with Baby M:


No comments:
Post a Comment